
Making Sting
Aug 10
Book week 2014. I was unreliably informed by my darling wife that my son needed a sword for book week parade on Monday. He’s going as Frodo, he needs Sting.
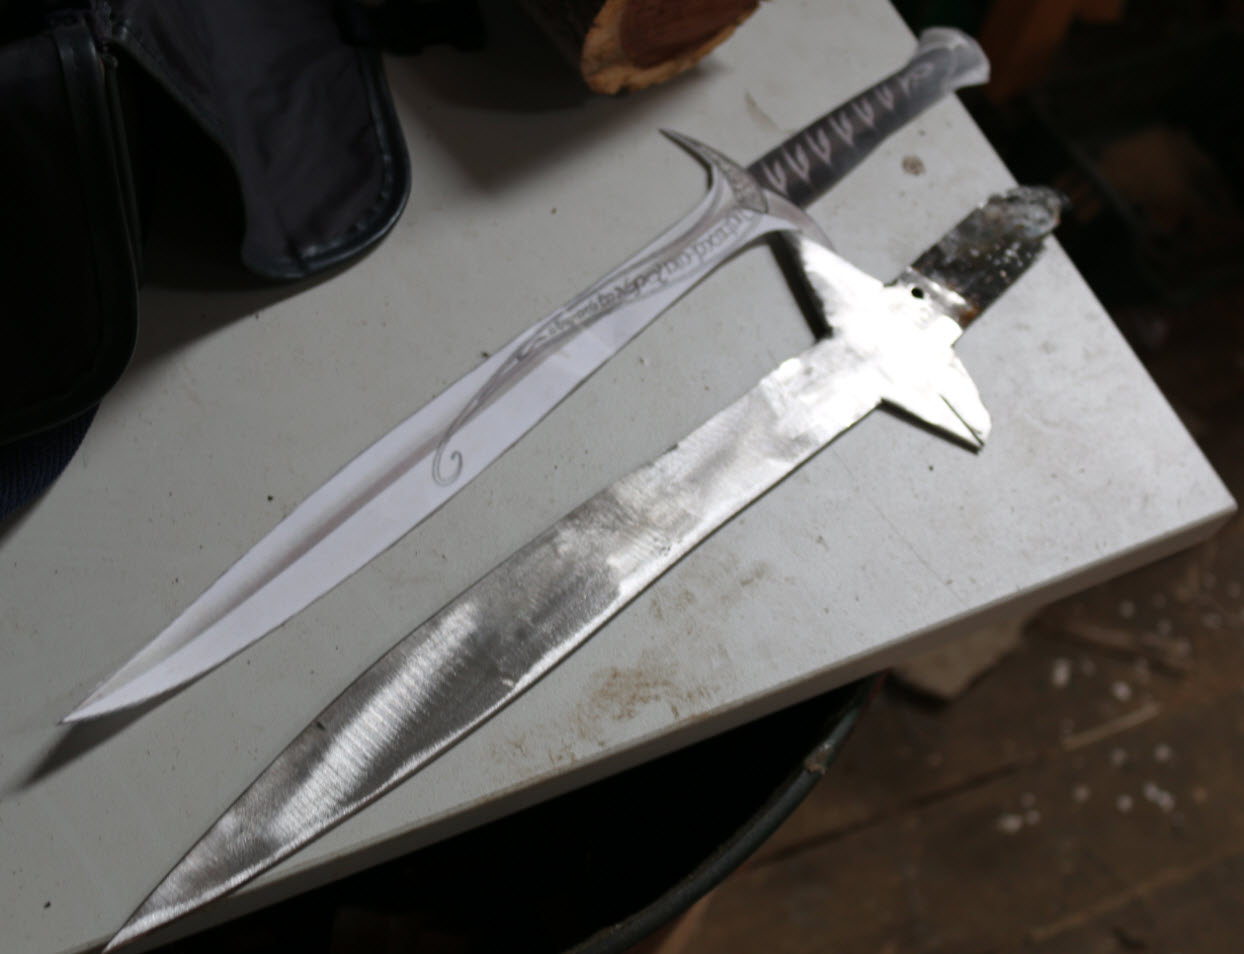
This is what Sting looks like:

From the Lord of the Rings wiki.
“But didn’t I already make you a dagger last year, when you were Legolas?”
Yeah, I did, and last year it was good enough, cool even – even though it was just a bit of flat steel stuck into a chunk of rough-turned wood for a handle – but a year has passed, the lad’s growing up, and he (and, of course, his friends) have more of a discerning eye.
I actually enjoy making stuff if I’ve got time to do it properly. I’m no artisan wood or metalworker – I’ve never produced anything I’m really over the moon with – but I can make half-decent stuff if I’ve got the chance. Plus it’s the last book week we’ll be doing, and I’d given him a hard week. So I decided this would be the weekend project, and I just started. No plan or anything, I just made it up as I went along. Mainly because if I stop to think things through it seems like there will be a dozen things required that I won’t be able to do. The only thing I was determined to do in advance, was to not buy anything.
Day 1
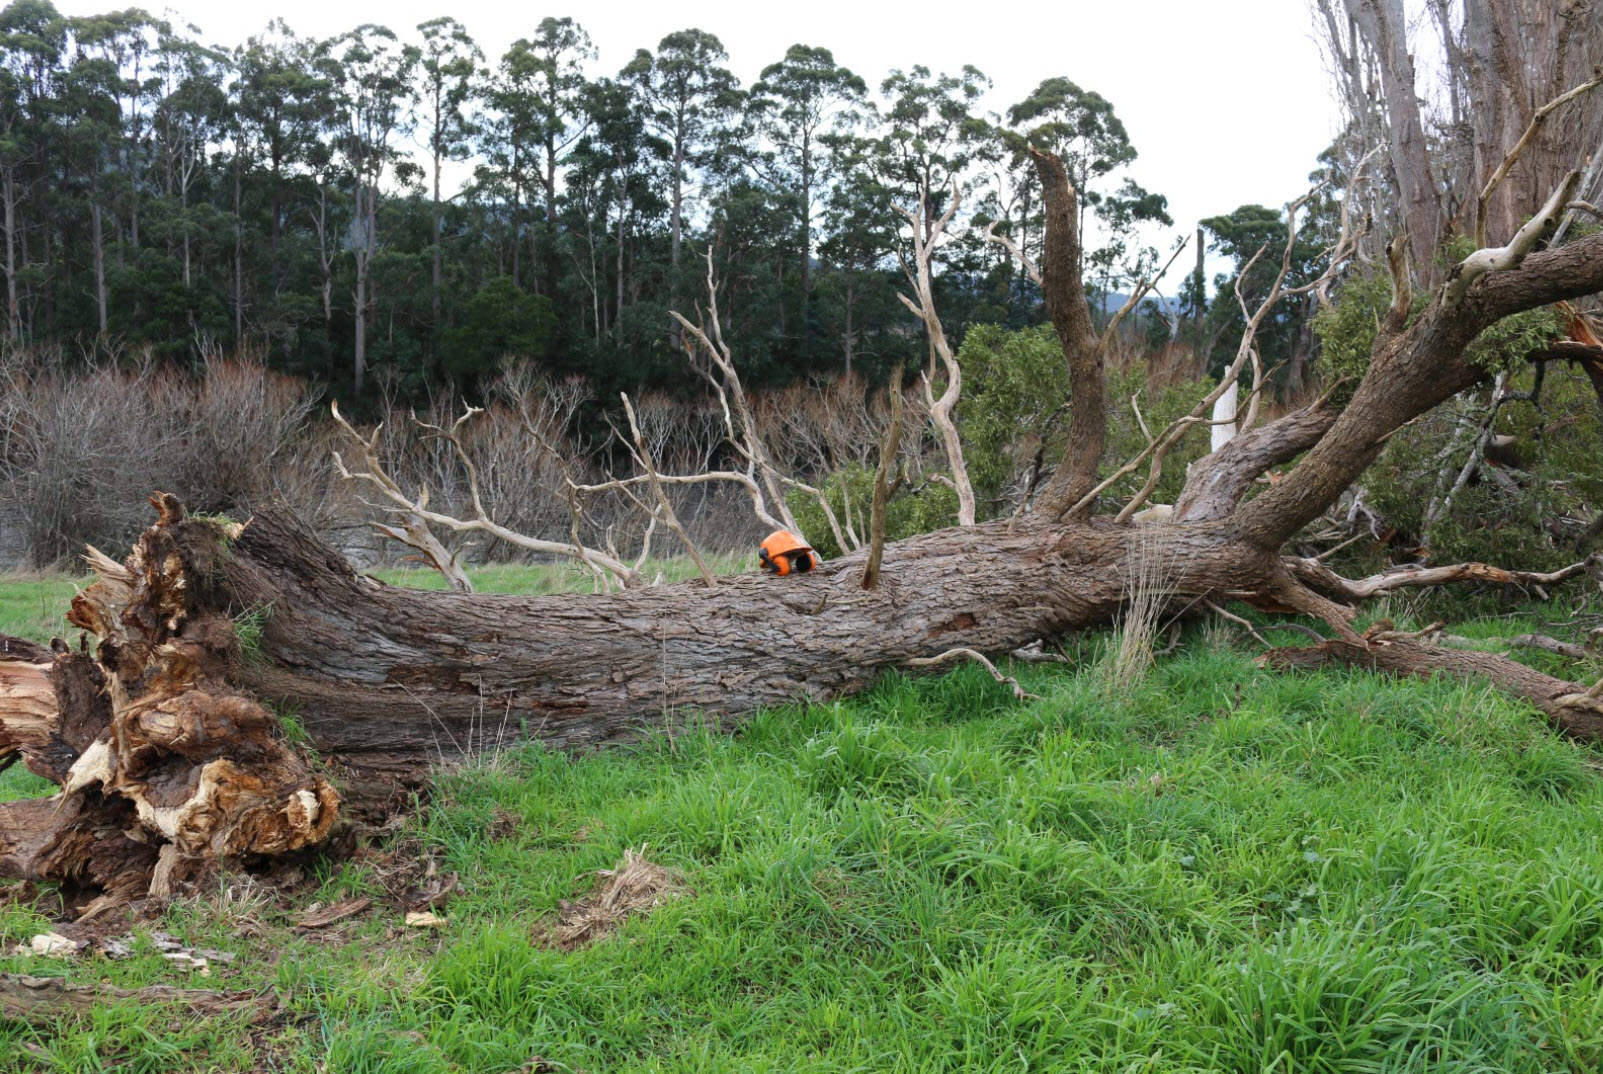
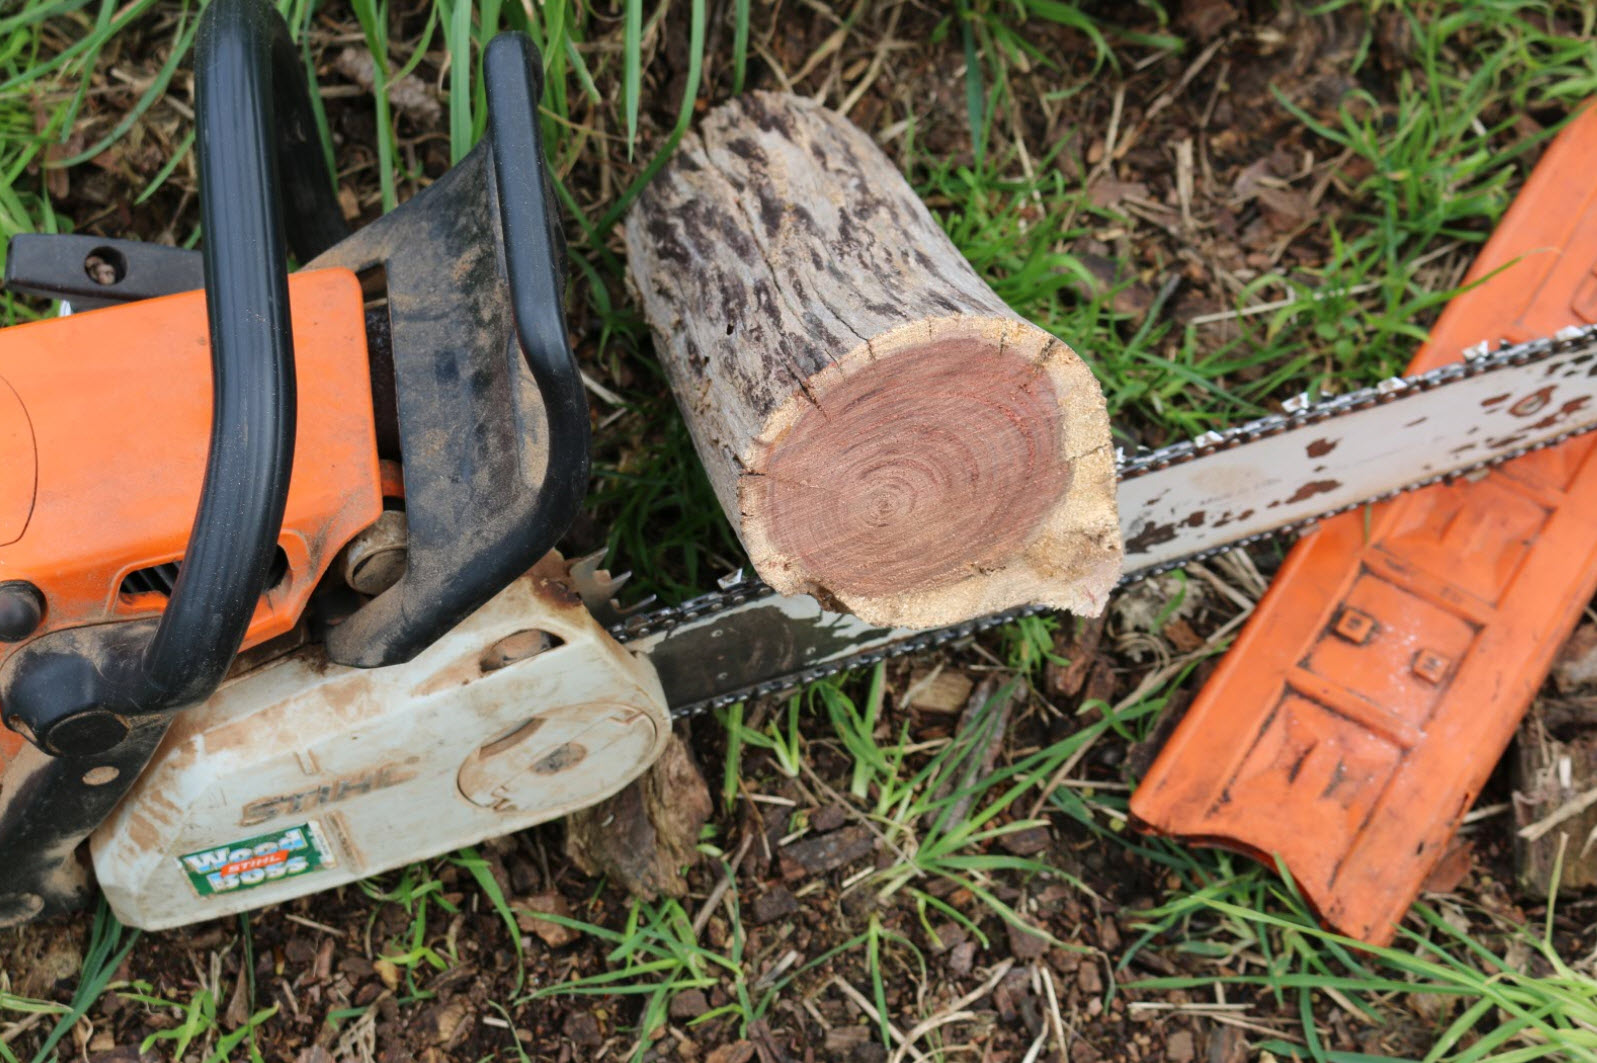
So I printed up my ‘template’ of Sting from the wiki, and went down to an old blackwood tree that had blown down in the recent winds and cut off a short section of dead branch to use for the handle.
Then hunting through the scrap metal pile to find something I could cut a sword-size chunk of metal from. The old truck bumper looked like a good candidate – we don’t have the truck anymore.

I started off cutting with the oxy torch but it quickly became apparent that I wasn’t going to be able to see where I was going, so I switched to a cutting wheel. Didn’t take too long to get something pretty much sword-shaped.
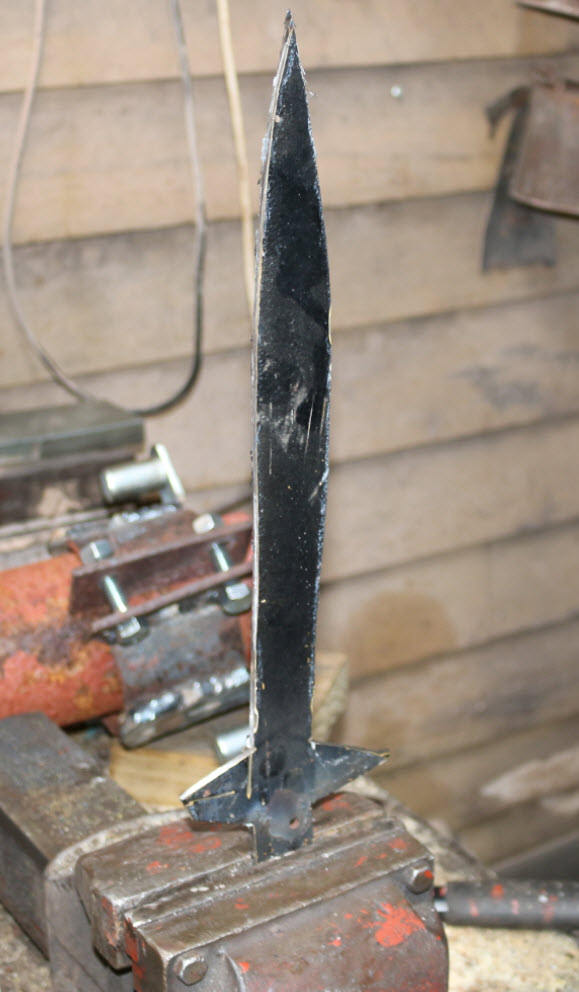
With a bit more cutting and a flap disc on the grinder, it started looking nice and shiny.
I figured if I left a stem to slide into the handle, I could use some two-part mix to make sure it stayed on. I cut some grooves into the stem as well to give it some grip.
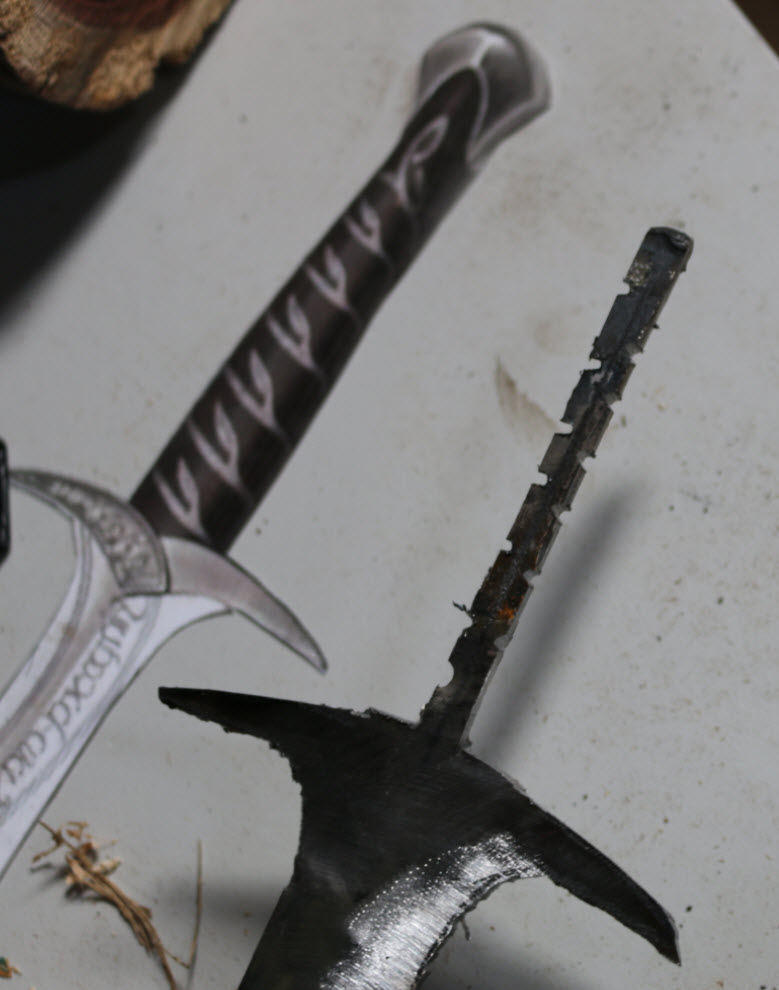
Then time to start shaping the blade.

Blade shaped, and suitably blunted, next up was trying to come up with something to make the metal piece at the end of the handle. It’s called a pommel apparently (I just Googled it). I remembered something I’d seen while hunting around the scrap piles: half a link that had been cut from a big chain. Perrrrfect.
Doesn’t look too flash now, but nothing a grinder won’t fix. Grinders were invented by elves, by the way.
That’s more like it, shaping up better than hoped!

Time to get stuck into the handle.
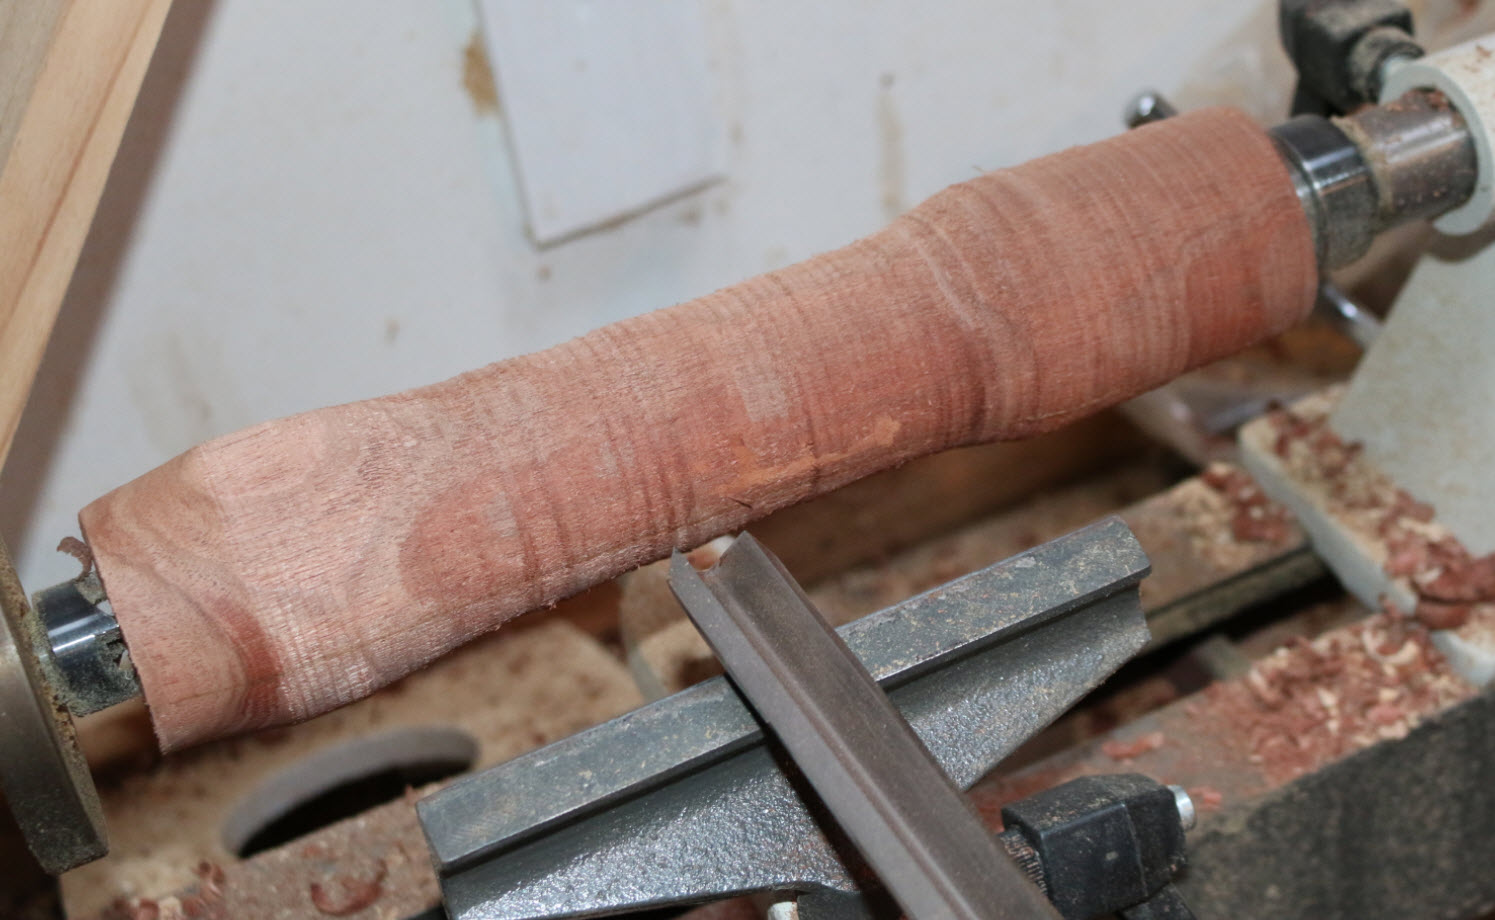
End of the shed time for day 1, too dark to see – all the main parts roughed out as a proof of concept, ready for completion on day 2. I also sanded the blade with wet’n’dry down to 1200 grit. And some pink texta:
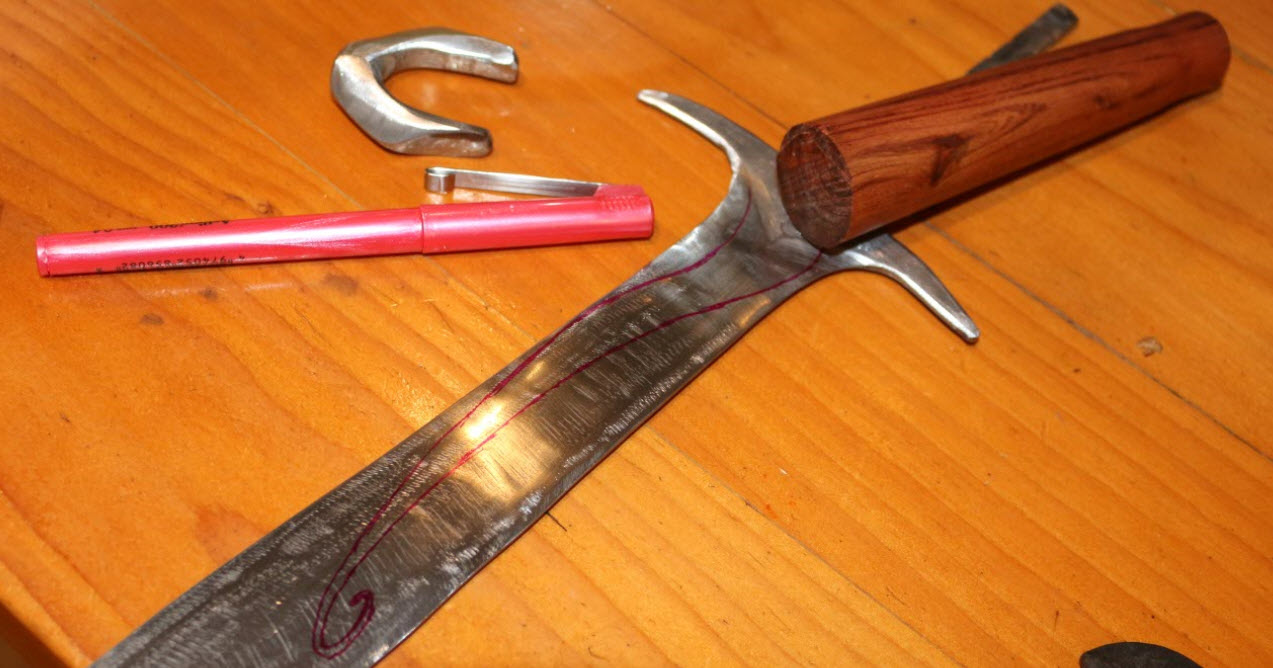
Day 2
First up I engraved the pattern onto the blade and then put runes on it. One side has Tolkien’s runes, the other has elder Futhark. No, I don’t know a thing about runes, I used online rune translators!
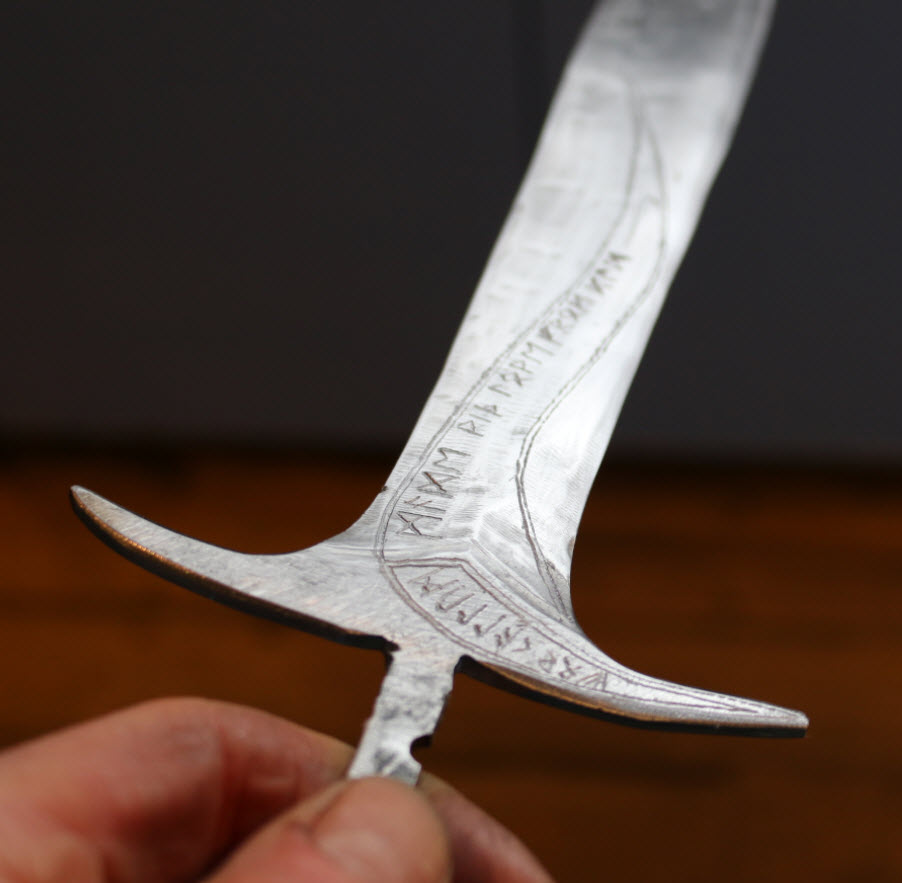
For Callum, made with love, from Dad.
And then I went back over to the shed and forgot to take the camera. I spent hours drilling out and then shaping the handle (from round to more flat to fit in the palm better), fitting the pommel, and fitting the handle up to the guard. The pommel almost made me ill, I was so petrified of splitting the handle; I chiseled out the sides of the handle where the pommel would fit in, and overcompensated at the ends so I could clamp the pommel in the vice to fasten it on – making the ends of the chain link ‘grip’ the timber. No glue required. Worked a treat, but I was thanking the elf gods or whoever it is that oversees the making of swords – another few centimetres on the vice handle could easily have smashed the timber.
I also cut open the end of the sword stem with a hacksaw for a few millimetres, and split open the steel with a cold chisel, just to make a bit of a flange for a tighter fit. I mixed up about a teaspoon of two part glue and put it in the hole in the handle and stuffed the stem in. I gave it a tap with a hammer for good measure and split the timber right next to the guard, but it sanded out pretty well.
Pretty chuffed with it by this stage.
Now to do the decoration on the handle. This was the bit that was haunting me slightly – I knew I could completely stuff all my hard work. I grabbed a roll of old, thin wire (it’s always been in the shed, I’ve never even seen it used it’s so fine), and set to work hammering it out flat. A peening anvil and a peening hammer is ideal (you really should buy one, or three, right now).
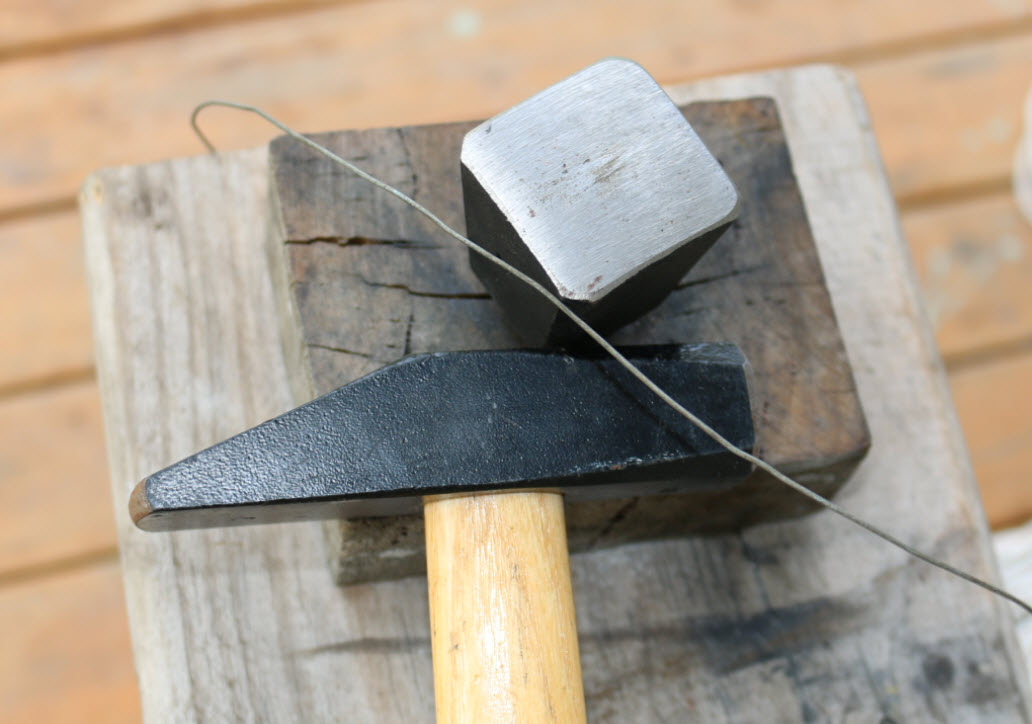
The narrow end of the hammer was good for thinning out the steel for the leaf shapes too:

It was about this time that my wife told me I shouldn’t obsess too much (and she hadn’t even seen what I was doing) and I was keenly aware I was running out of time, so I decided to take a shortcut and not do so many twists of the vine on the handle. I engraved the pattern first:

…then got the rough shape into the wire…
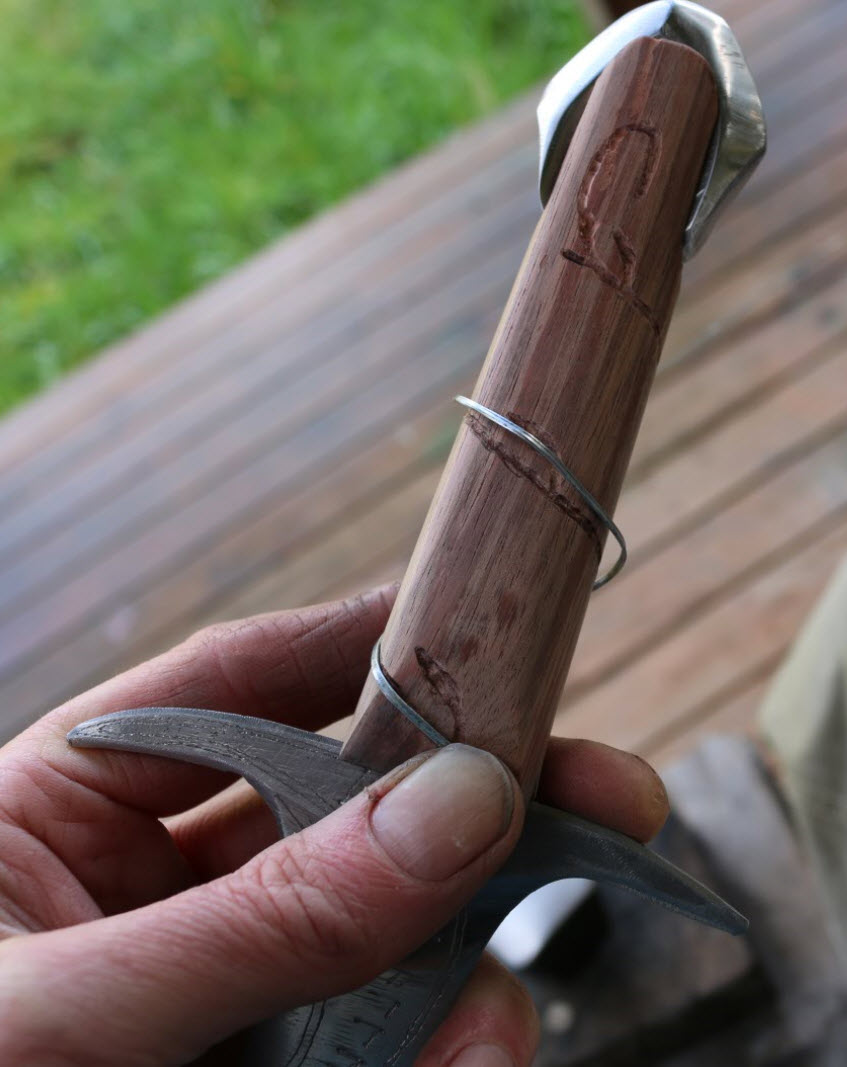
…and then stuck the leaves on (superglue – another elvish invention). I drilled holes for both ends of the main vine to tuck them in, and glued the vine in as I twisted it on. Could really have done with another set of hands at that point. Another minor miracle that I didn’t stick myself to the bench. It was about now that my wife told me she had the dates wrong – there was another week to go.
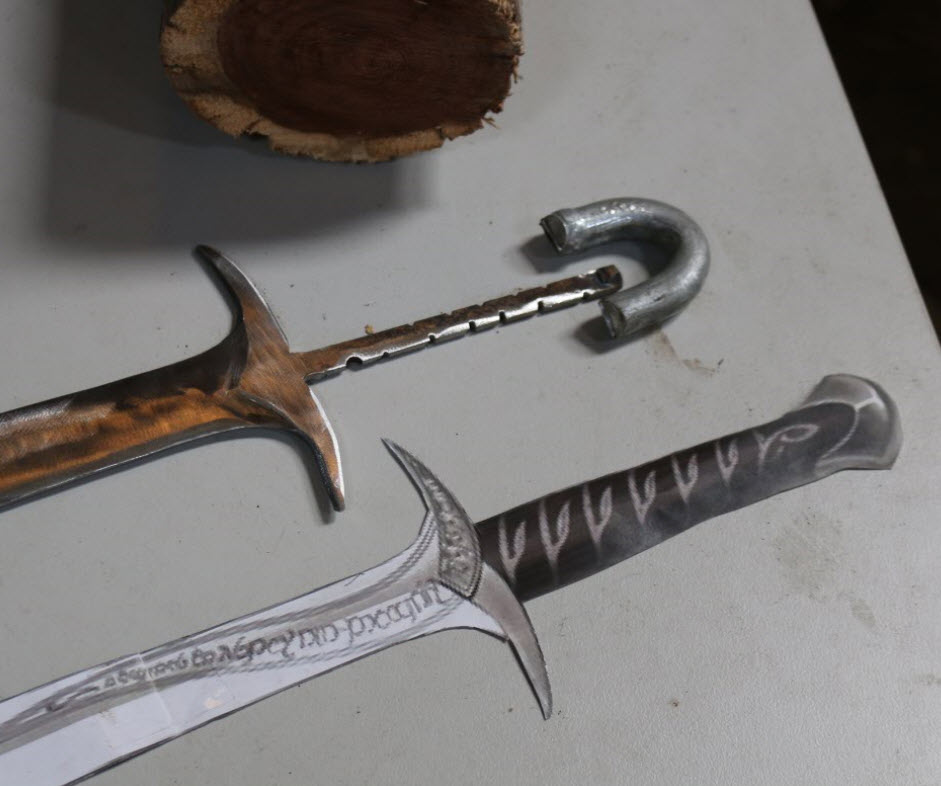
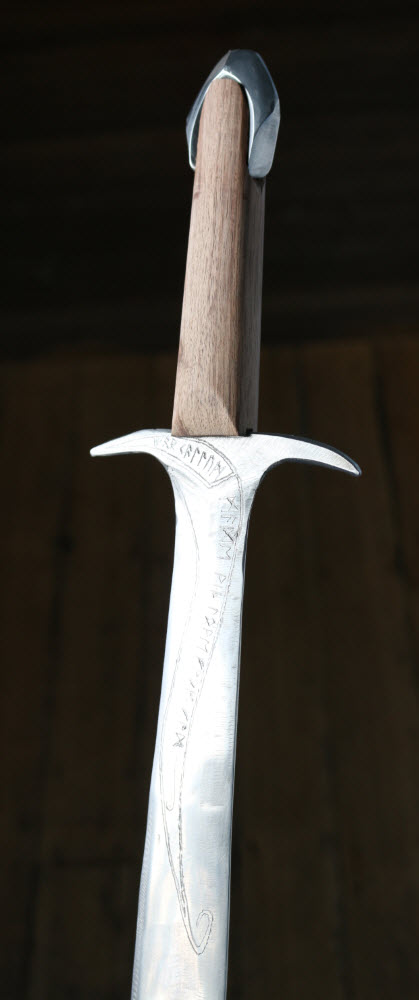
Some olive oil on the handle darkened the blackwood a little more.
Finito!


When I got home in the evening I told the lad that we still had another week to go, so he shouldn’t be too disappointed when I showed him the sword. He dutifully said “ok” and steeled himself for a let down. And I pulled this out of my backpack:
He was more impressed with the real thing, and costumes ensued. I offered to hold off on shaving so we can glue my beard to his feet. And I told him the runes say, “turns blue in the presence of orcs. Batteries not included.” Dad jokes.

Mr Frodo Baggins.
If I had to do it again, I’d…
- Make the leaves before engraving the spots for the leaves (d’oh in hindsight). I got pretty good at making leaves by the time I’d finished making leaves.
- Use stainless steel – may as well make it to last properly.
- Offer to make the ring of power instead.
Pretty stoked with the outcome overall. I don’t think Peter Jackson will be calling any time soon, but hey, not bad for a bunch of scrap.
